If there is one question we get all the time, it is this: How in the world do I use your stickers?? |
| The hardest part of this entire process is finding a notebook that you want to use for your bullet journal. You can use any size journal you would like, lines, no lines or dots. It really is up to you for what you want to do and how you want to plan out your days. For me, I use this 5x7 sketchbook from Michaels. If you plan on bullet journaling with our bullet journal stickers, we make stickers that will perfectly fit into a regular sized notebook (8.5x11) or an A5 sized notebook. But because of the nature of our stickers, you will be able to use them in any notebook you choose with little to no problem. |  |
Setting up your notebook
IndexA classic bullet journal is made to be functional and simple. The first page of your bullet journal would be an index page. An index page is basically a spash page so you can keep track of all of the pages you have made in your bullet journal. This isn't essential if you plan on just using this for planning, but if you plan on using it for planning, goal setting, habit tracking, mood tracking etc (bullet journal possibilities are endless), an index can be a good tool for you to have, so you can keep track of all of the pages you have created. Filament Paper Co. will be releasing a set up bullet journal starter packs that have all the headers needed for the first few pages of your bullet journal! Future LogAfter your index, you create your future log. This is a place where you can plan your events for each month. I started in April, because I created this journal in March. I do my future log for an entire year, even if my journal may not last that long. How many months you plan ahead is up to you. This part will take a little bit of measuring, if you want it to be even. I measured out mine to have 3 months on each page. Make sure start numbering these pages now. After you finish you future log, go back to your index, and put these pages down! | 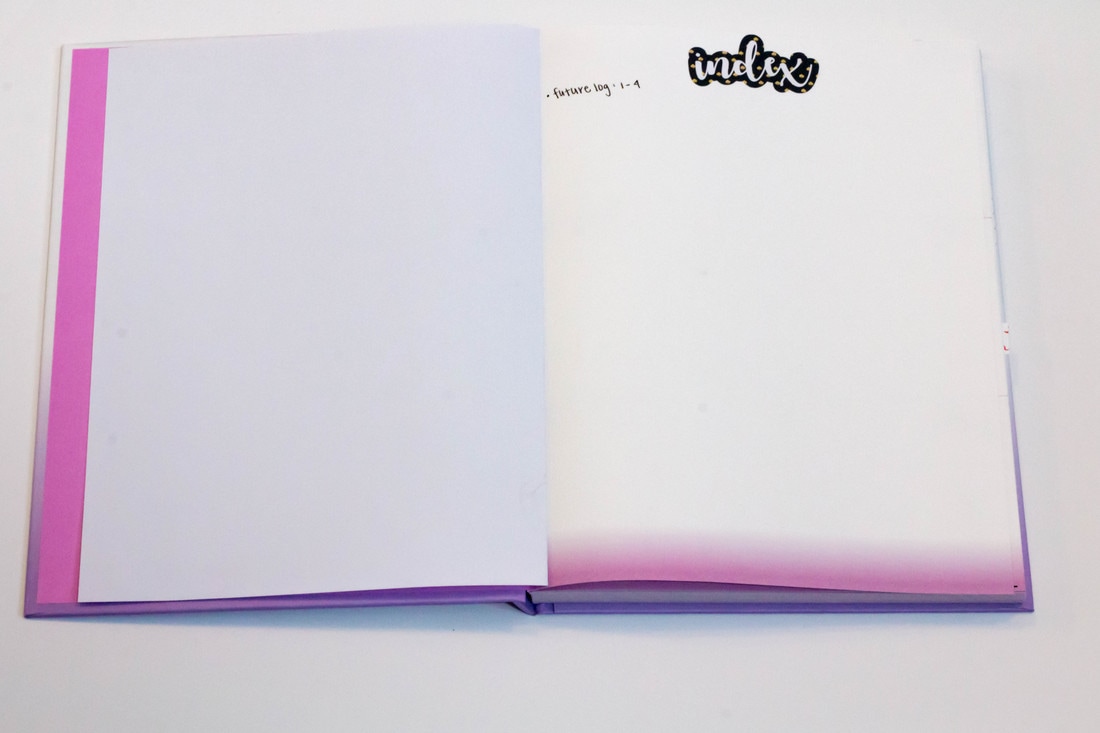 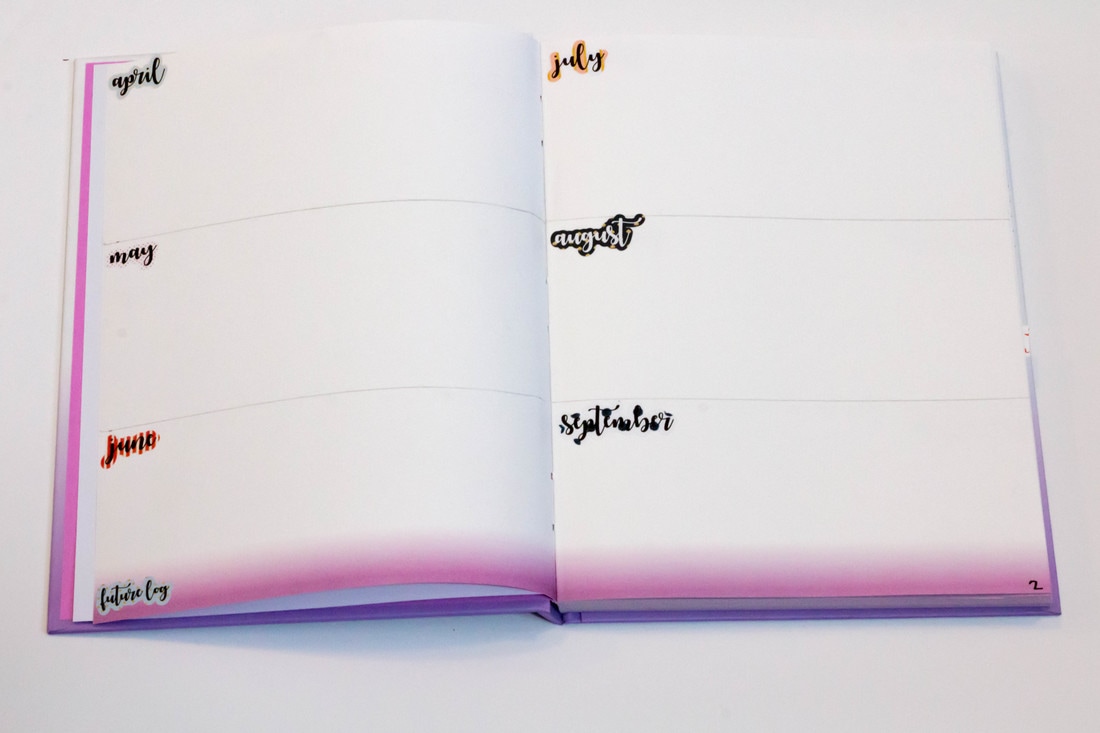 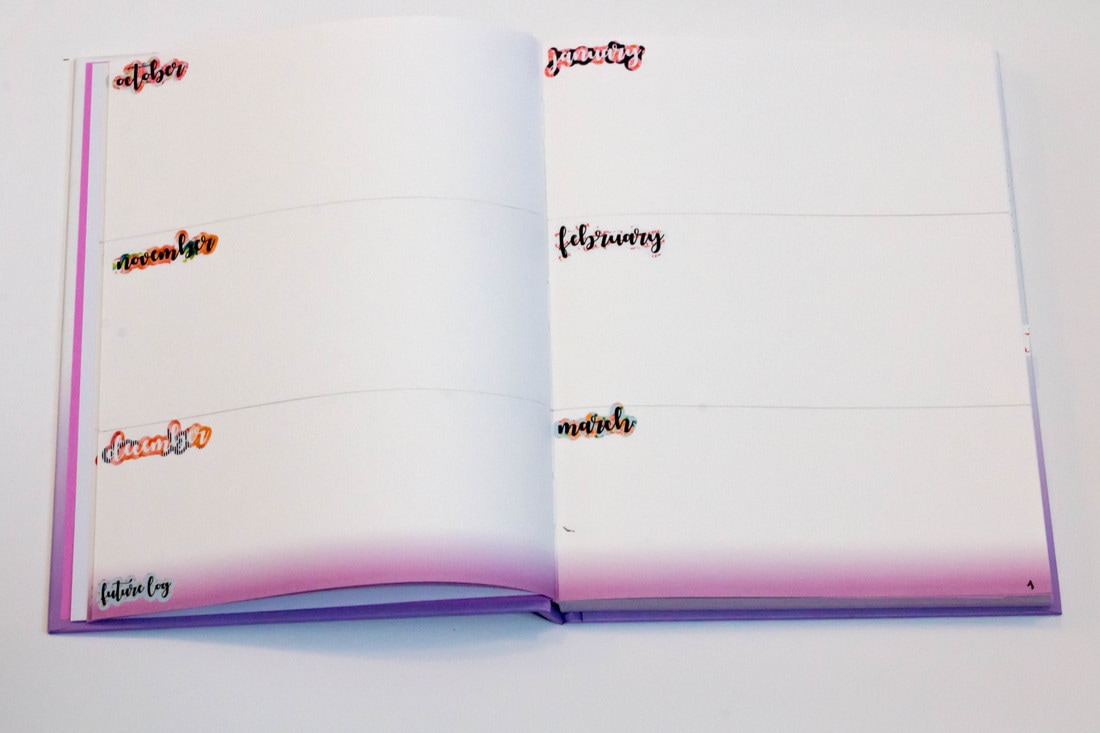 |
Goals + Splash PageThese are the only set guidelines for bullet journaling. After this, your own personal planning adventure starts. For me, I start with a goals page. Here, I write down all my long term goals, and create short term goals that will help me reach those long term goals. On the page next to my goals page, I usually create a splash page. The fun part about bullet journaling is the creative aspect of it. This splash page I will probably be creating water color 2017. But currently, it's just blank. | 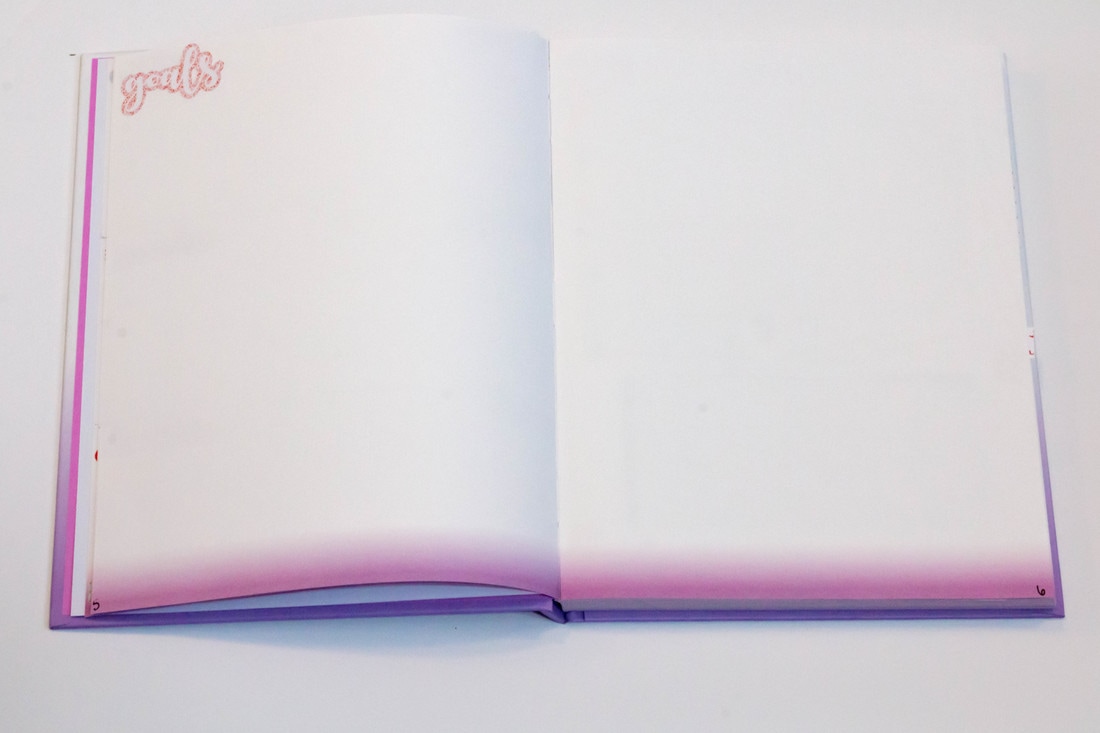 |
Monthly spreads
Every month, I like to create a monthly spread. This is my month at a glance. In our kits, we provide 3 blank rectangles that can be used for different planning. I use mine for photoshoots, future blog post ideas, and to track filament orders. The great thing about these kits, are they are completely customizable. You can use them in whatever way you feel works for you.
This is the way I like to plan my months:
This is the way I like to plan my months:
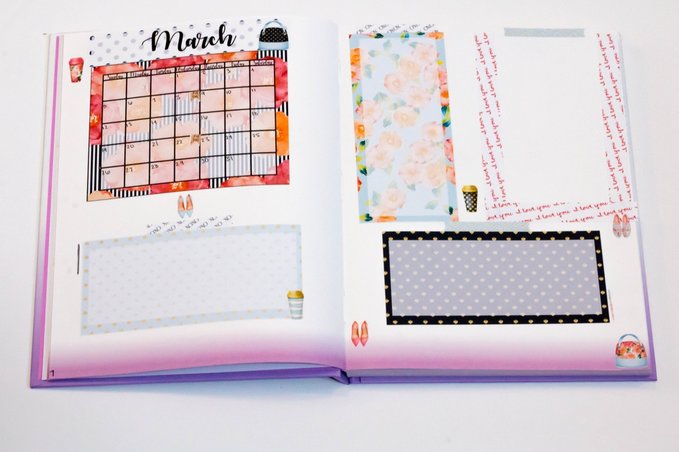
This is what my monthly spreads look like as skeletons. As you can see, nothing is filled in. But I set them up this way. I use the washi tape strips to create a fourth box, and use the three boxes this way, then I add all my deco stickers and be sure to number my pages. Again, this is absolutely customizable. There are many ways to do a monthly spread, even with these stickers. There's no "right" way to use them.
Weekly Spreads
After monthly spreads are weekly spreads. These are self explanatory. This is my week at a glance. I use a mixture of my previous weekly spreads and my monthly spread to fill in these weekly spreads.
Again, this is how I use the kits and how I like to lay out my weekly spreads (ignore those weekday headers, those need to be resized).
Again, this is how I use the kits and how I like to lay out my weekly spreads (ignore those weekday headers, those need to be resized).
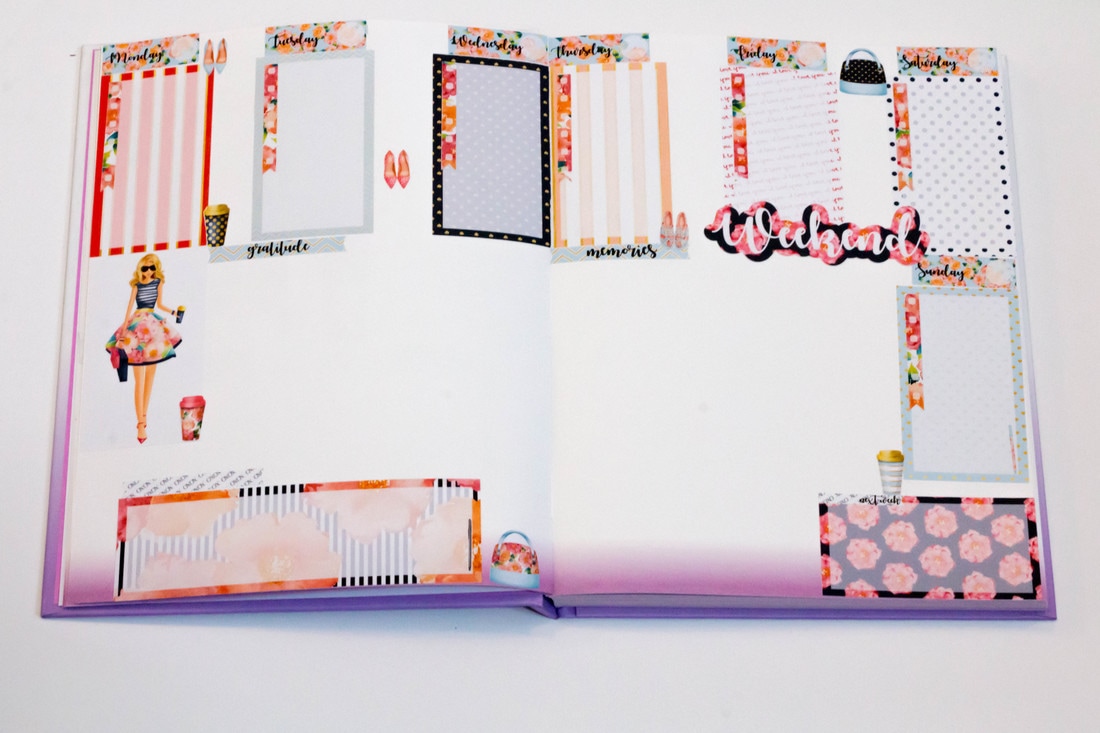
Here is a skeleton of my weekly spread. In the weekly spread kits (both large and small) you get 7 weekday headers, and 8 box stickers. 7 that are functional and 1 that is just for decoration (see the one on the left). You also get a weekend banner, bottom bar, and a "next week" functional box, and 8 checklists. I like to write down my memories and daily gratitudes in my weekly spreads, so I include those in my spread kits, but I also include different blank headers that you can label to your liking.
Again, this is how I plan my weeks, but the fun part about bullet journaling is that you can do it in any way you would like!
Again, this is how I plan my weeks, but the fun part about bullet journaling is that you can do it in any way you would like!
And thats how you bullet journal using our filament bullet journal stickers! I hope this helped you all figure out how to use our stickers in basic form!
Stay tuned for more in depth bullet journaling 101, such as creating new functional pages, and goals pages!
Stay tuned for more in depth bullet journaling 101, such as creating new functional pages, and goals pages!
0 Comments
